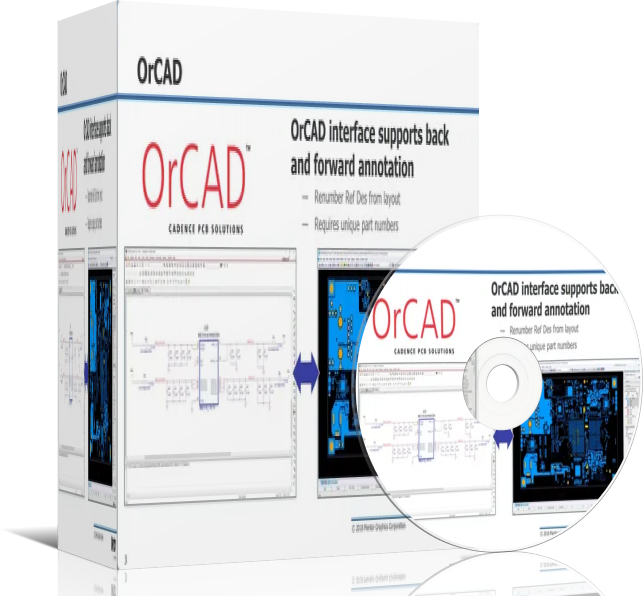
Orcad software free download full version with crack
OrCAD, a powerful suite of Electronic Design Automation (EDA) tools, is widely used by engineers and designers to create, simulate, and analyze electronic circuits. This comprehensive guide will walk you through the essential steps of using OrCAD, from setting up a new project to simulating and analyzing your designs.
Setting Up Your OrCAD Environment
Installation: Download and install the OrCAD software package from the Cadence website. Choose the appropriate version for your operating system.
Licensing: Obtain a valid OrCAD license. It can be either a standalone license or a network license.
Project Setup:
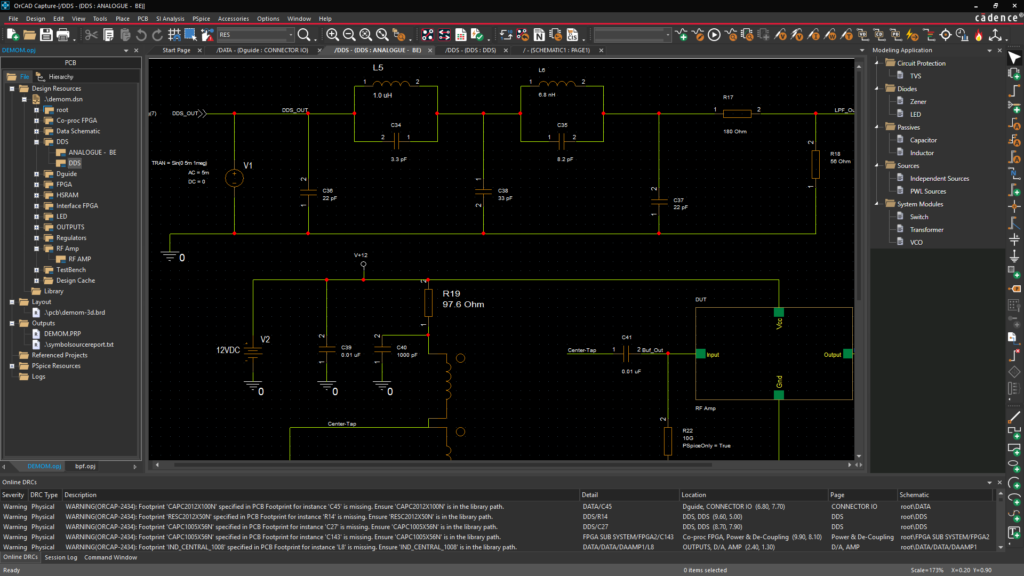
Launch OrCAD Capture CIS.
Create a new project by selecting “File” > “New” > “Project”.
Define the project name, location, and specify the desired libraries.
Choose the “Schematic” option for creating a new schematic.
Designing Your Circuit
Component Placement:
Use the “Place” menu to add components to your schematic.
Search for the desired components in the OrCAD library or import custom components.
Use the “Rotate” and “Mirror” tools to adjust the component orientation.
Wire Connections:
Use the “Wire” tool to connect the components according to your circuit design.
Ensure proper connections by verifying the pin numbers and labels.
Adding Labels and Annotations:
Use the “Text” tool to add labels and annotations to your schematic.
Label components, nets, and important nodes for clarity.
Creating Symbols:
If you need to create custom components, use the “Symbol Editor” to design the symbol representation.
Define the pin names, labels, and properties for the custom symbol.
Simulating Your Circuit
Setting Up the Simulation:
Choose the appropriate simulation type (e.g., DC analysis, AC analysis, transient analysis).
Define the simulation parameters, such as input signals, time range, and analysis settings.
Running the Simulation:
Use the “Simulate” menu to run the simulation.
Analyzing Simulation Results:
View the simulation results in graphical and tabular formats.
Analyze the circuit behavior, such as voltage and current waveforms, frequency response, and transient response.
Generating Output Files
Netlist Generation:
Generate a netlist file that describes the circuit connections and component information.
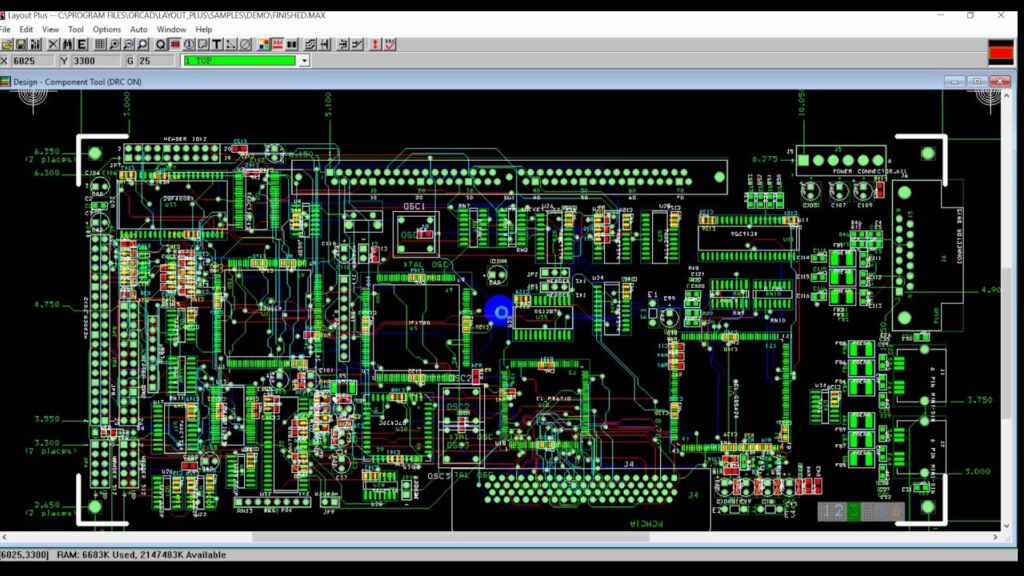
PCB Layout:
Use OrCAD Layout to create a printed circuit board (PCB) layout based on the netlist.
Place components, route traces, and define the PCB layers.
Generating Output Files:
Generate Gerber files, drill files, and other output files for PCB fabrication.
Advanced Features
Hierarchical Design:
Organize complex circuits into hierarchical blocks for better management.
Analog and Digital Simulation:
Simulate both analog and digital circuits using OrCAD’s advanced simulation capabilities.
Custom Libraries:
Create and manage custom libraries for frequently used components.
Integration with Other Tools:
Integrate OrCAD with other design tools, such as PCB layout software and simulation software.
Conclusion
OrCAD is a powerful and versatile tool for electronic design. By following these steps, you can effectively use OrCAD to create, simulate, and analyze your electronic circuits. As you gain experience, explore the advanced features of OrCAD to enhance your design workflow and achieve more complex and sophisticated designs.

Features:
- Intuitive Interface: The software boasts an easy-to-navigate interface, allowing users to quickly and efficiently create, customize, and manage their data visualizations.
- Versatile Data Import: Origin Graph Software supports a wide range of data formats, enabling users to seamlessly import data from various sources, including spreadsheets, databases, and text files.
- Advanced Plotting Tools: The software offers a comprehensive set of plotting tools, including line plots, scatter plots, bar charts, and histograms, among others, allowing users to present their data in the most effective and visually appealing manner.
- Customization Options: Users can extensively customize the appearance of their graphs and charts, adjusting elements such as colors, fonts, and labels to achieve their desired aesthetic.
- Analysis Tools: The software provides a suite of analytical tools, including curve fitting, data manipulation, and statistical analysis, empowering users to gain deeper insights from their data.
- Collaboration and Sharing: Origin Graph Software facilitates collaboration by allowing users to share their visualizations with colleagues or clients, either through direct file sharing or by exporting the data in various formats.
Technical Specifications:
Version: 2023.1.2
Interface Language: English
Audio Language: N/A
Uploader/Repacker Group: OriginLabs
File Name: OriginGraphSoftware_2023.1.2_Crack.exe
Download Size: 180 MB
System Requirements:
Windows:
- Operating System: Windows 10/11
- Processor: Intel Core i5 or equivalent
- RAM: 8 GB or more
- Storage: 500 MB of available space
macOS:
- Operating System: macOS 10.14 or later
- Processor: Intel Core i5 or Apple Silicon
- RAM: 8 GB or more
- Storage: 500 MB of available space
Android:
- Operating System: Android 8.0 or later
- Processor: Quad-core or better
- RAM: 4 GB or more
- Storage: 500 MB of available space
Adjusting Graphics Settings:
- Open the Origin Graph Software application.
- Go to the “File” menu and select “Preferences.”
- In the “Preferences” window, navigate to the “Graphs” tab.
- Here, you can adjust various graphics settings, such as:
- Line thickness
- Symbol size
- Font size
- Background color
- Once you’ve made the desired changes, click “OK” to apply the new settings.
Troubleshooting Common Issues:
- Compatibility Issues: If you encounter compatibility issues, try running the software in compatibility mode or updating your operating system to the recommended version.
- Licensing Errors: If you encounter any licensing errors while using the crack version, try downloading the software from a trusted source or consider purchasing a legitimate license.
- Performance Concerns: If the software is running slowly or experiencing performance issues, try adjusting the graphics settings or closing any other running applications to free up system resources.
How to Download and Install:
- Visit the Frezsa website to download the Origin Graph Software installer.
- Once the download is complete, run the installer and follow the on-screen instructions to complete the installation process.
- If you have downloaded the crack version, follow the provided instructions to apply the crack and activate the software.
How to Use:
- Launch the Origin Graph Software application.
- In the main interface, click on the “New” button to create a new project or open an existing file.
- Import your data using the supported file formats.
- Choose the appropriate graph or chart type from the available options.
- Customize the appearance and layout of your visualization using the software’s various tools and settings.
- Perform any necessary data analysis or manipulation using the built-in analytical tools.
- Save your work and share your visualizations with colleagues or clients as needed.
For more information, you can visit the following websites:
Leave a Reply